Friday, December 30, 2016

Sale-a-bration is Coming!

 Sale-a-bration starts January 4th!  Get a FREE product from the Sale-a-bration catalog with a purchase of $50 (before s/h). I love Stampin'Up! 


I am hosting a Stampin'Up! class January 5th! At the Wheeler County Chamber of Commerce.  I will have the new occasions catalog and Sale-a-brations catalogs there with some product to show!
 
So Excited!

Tuesday, December 27, 2016

For Class

I've set up a couple of classes for the New Year.  I really want to succeed at this.  Here the two cards we'll be making.  I thought it a good idea to use a new set from the new occasions catalog.


www.jeanettepapercut.stampinup.net

Friday, December 16, 2016

Classes and Planning

 Hello!  
My first class as a Stampin'Up! demonstrator didn't go exactly like I had planned but we still had a ton of fun and most of the ladies learned something new!


 I had gotten some fun Paper Pumpkin items and finally convinced myself to open them! Yikes.  So much fun...I want more. HA!
 My Stampin'Up! uplines had an online team gathering.  Look at what I made with a fun make and take I got in the mail! Love my SU! family.
I have a couple of events planned.  I'm hoping for some turn out.  Working hard on getting the word out.  If you're in the Wheeler County area of GA come on and check things out.

Friday, December 9, 2016

Party Time!

 Party time! YAY.  I have a class AND an online party next week and I booked two classes for January! I am so excited.  Here are a couple of the cards I will feature in my online party.  Simple but so cute!


Friday, December 2, 2016

Fun with the Envelope Punch Board


I will post a how to on some of these in the near future.  They are so fun and make great gifts and all were made with the envelope punch board and Design Series Papers. 

Friday, November 25, 2016

Christmas card Workshop!

A couple of cards I plan to make with some ladies from church for a workshop.


Friday, November 18, 2016

Envelope Punch Board Mug


I can not believe how easy this mug was to make!  What a great idea for gifting hot chocolate, tea or coffee. Love it.  All made with one sheet of 12x12 Design Series Paper and the Envelope Punch Board. 

I will post a how to at a later date.

Wednesday, November 9, 2016

Twist Easel Cards

Card stock measured to 8 1/2 x 4 1/4 folded in half. Score and fold the front of the card on the diagonal from the top outer corner to the bottom inside corner.  Fold into a mountain fold. Done!


Friday, November 4, 2016

Foxy Friend in a Tree

This is made with Foxy Friends, Woodgrain Impressions folder, Number of Years die bundle and Tiny Tiny words set.


Friday, October 28, 2016

New Adventure

I've joined Stampin'Up!  Ya, I can't believe it either.  Check out my new page. Thanks. www.jeanettepapercut.stampinup.net also on FB at www.facebook.com/papercutstampinup

Happy Stamping!


Friday, October 14, 2016

A Finished Pop-Up Box

My last post was how to make a pop up box card.  Here is one finished.
LOVE IT!
(Popcorn the Bear stamp set)


Wednesday, October 5, 2016

How-to Pop-up Box Card

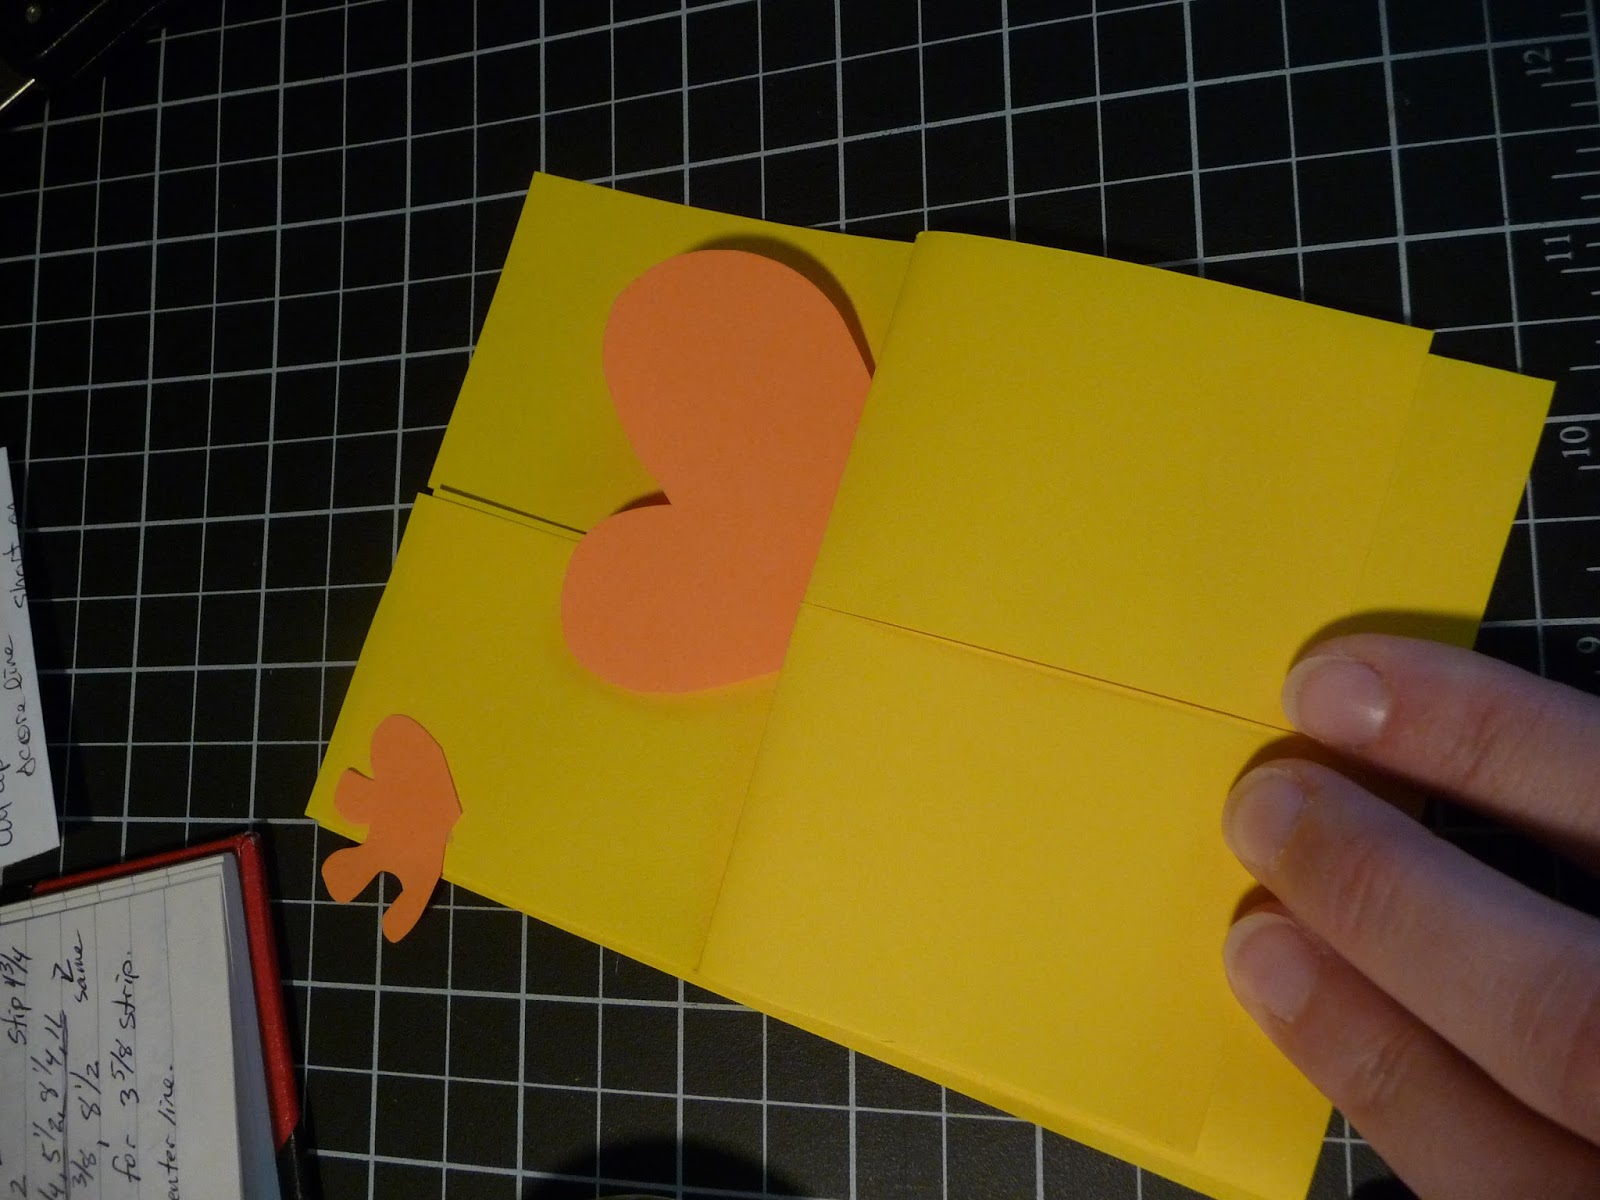
You will need card stock measuring at 8 1/4 x 9 inches.


Along the 9 inch side score at 2 1/8, 4 1/4, 6 3/8, 8 1/2.
Turn to the right one side at score at 2 3/4 inches.


Trim the side away from the 2 3/4 score you just made down to 6 inches.  Keep this strip.  Trim it down in half the long way and then cut down to 3 1/8 length.


Cut the short shorelines up to the middle.  Cut off the small edge tab (seen at the right side).


Fold the box up with the remaining tab attached on the inside of the box. I like to place a piece of card stock up the back of the box on one panel to held hold it stiff before I fold down the other three box flaps. (5 7/8x2)


Now take the two saved strips from earlier and fold into Z's.  


Attached to the inside of the box.  One with the Z against the back and one with the Z against the front.  Make sure that the box will flatten out with them in place. (Also helps to get the pieces in right place.)


Now you can add any additional embellishments you wish to the inside and flaps.  Just be sure they will stay within the edge of the card.  When it is flat it ought to measure 5 1/2 x 4 1/4.  If pieces do over hang be sure they fit your envelope at least. You may want to add a stiff piece of card stock or card board so they are not damaged. 


Above: closed (for mailing).
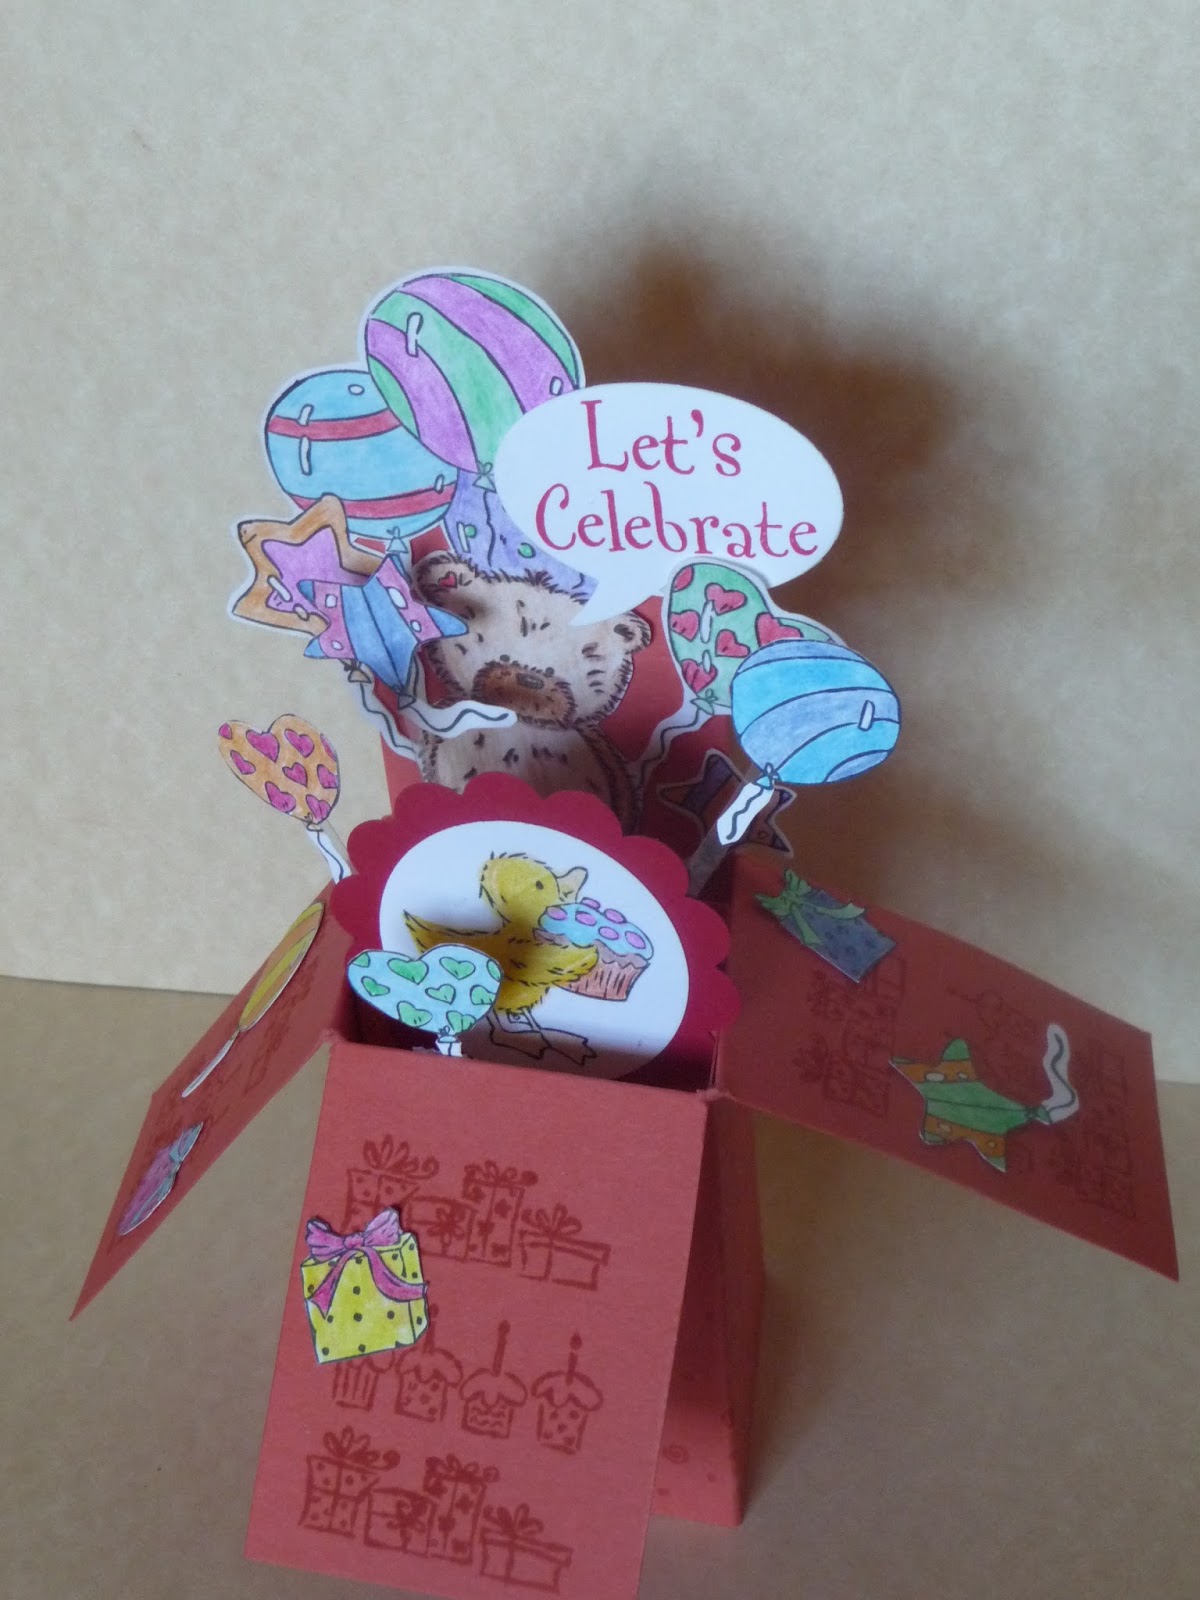
Below: opened (for viewing).


I like to add a large embellishment for signing and words stamps.
I will be adding a short video later as well as an example of a finished card.

Check out my Pinterest page for some more great cards too.