4, 2 inch squares of card stock your choice of color
1, 2x9 strip of card stock to be the "waterfall" your choice of color
1, 1x 4 1/4 strip of card stock to anchor the waterfall to the card, your choice of color
First you will need to score the "waterfall" piece (2x9) at 2, 2 3/4, 3 1/2, 4 1/4 inches.


Attach the tops of the 2x2 squares along each score mark, over lapping each.

Attach the anchor piece to the back of the last scored section.

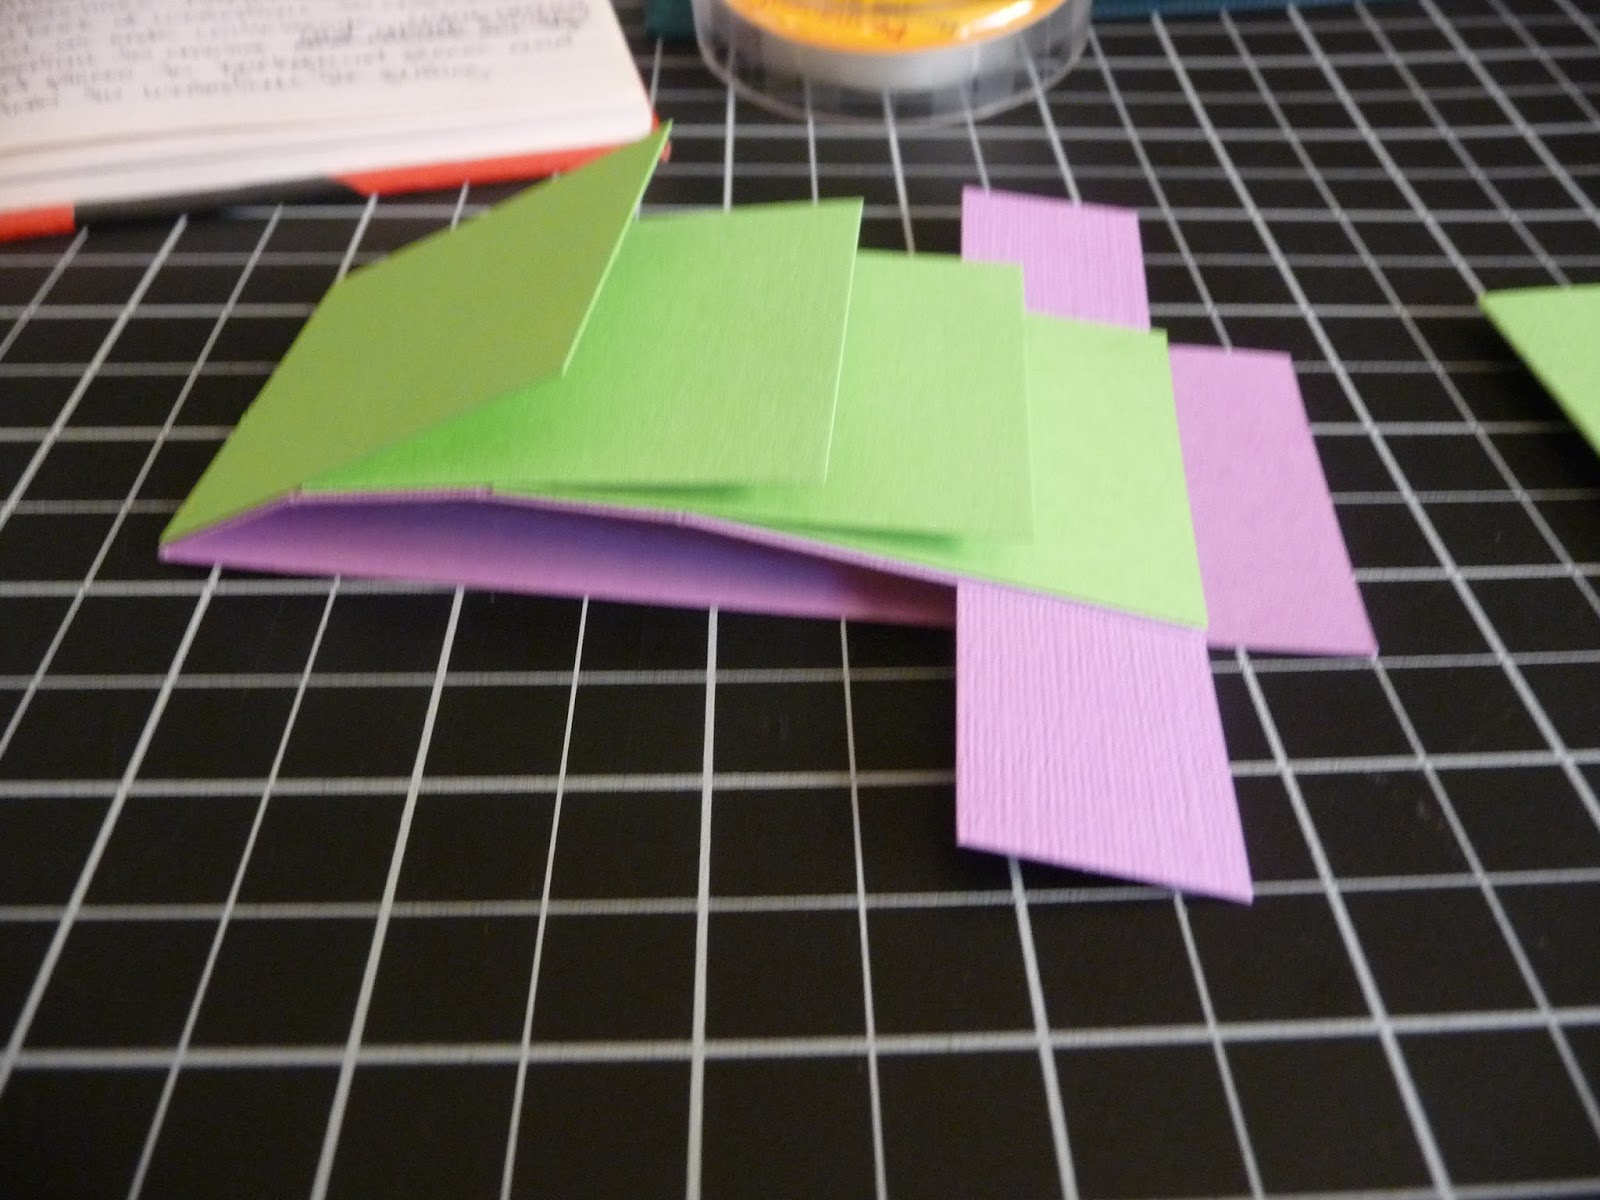
With the "waterfall" laying down in half like this attach the two ends of the anchor piece to your card. It will fit a card that measures 5 x 4 1/4 inches.
Brads and eyelets are the best but any strong adhesive will do.

The "waterfall" works when the back half of the waterfall piece is pulled. The scored lines and panels should flip over each other like a waterfall.


A fun optional but good idea is to add a tab so the recipient knows where to pull. Here I've added a 1/2 inch punched circle to the end of the "waterfall" and some thread.

Now you can stamp the images you wish on the 1 3/4 inch squares and attach them in any order to the waterfall panels. I like to add a bit of a larger piece at the end with some fun words.
The waterfall is heavy but it does stand like most other cards do when on display.
A quick demonstration of how it works.
No comments:
Post a Comment