Monday, August 1, 2016

How To Make a Panel Pop Up Card

You will need two pieces of card stock measured 11x 8 1/2.
The first piece cut down to 11 x 4 1/4.  Fold one half in half for the cover.  The other half cut it to 
11 x 2 3/4 then score at 2 3/4, 5 1/2, 8 1/4 and fold into mountains.  Set them a side.


One the second piece of card stock make to 11 inch side and mark at 4 1/4, 5 1/2, 6 3/4 and draw lines across the page.


Turn over to the 8 1/2 inch side and mark at 2 1/8, 4 1/4, 6 3/8 and draw lines across the page.


This is what your lines should look like.  (It will be the inside of the card.) If you want it to be slightly smaller than the cover make to the inside of your drawn lines another 1/8 inch including the edges. Cut off the corners following the set of lines you plan to use.  If you don't make it a bit smaller this piece will fit exactly to the cover.

Fold down the center lines up and down and across.


This is the tricky part.  You will have to fold the center line of the right edge down to the center line of the bottom area.  Unfold it and repeat with the left side.


You should end up with an X like this with the centers of all your folds meeting in the middle. It will also look like two arrows pointing at each other. 
You will now fold the center line of the "arms" into mountains (up) but the point lines will be down (valleys).


This is what it will look like.  Lay it flat while folded to crease all the folds.


Take the "M" folded piece from earlier and turn it to the right.  The M should be facing your right.


Center the M and attach the right arm to the M.  Pull the left arm out and attach it to the front of the M.


Take this finished piece and line it up to the crease of the cover and center on one half and attach.  


Attach the other half and fold it down flat.


Finished!


A quick video to show how the card ought to open.


Thursday, July 28, 2016

Panel Pop Up Card


I saw this card fold in a FB group and had the try it out.  AH!  It is so cute and once you get the measurements it's so easy to make. Love it. Again, YouTube has great videos on how to do it.

Penny Sliders are Fishy


Wow, it has been way too long and too many cards missed.

Well here is penny slider.  I've gotten into making this fun cards and so has my daughter.  Just lift the top card stock with dimensional stickers, cut a slit in it, add penny to the back with a dimensional sticker cut so it fits through the slit and attached to the penny.  Place it through the slit and add you piece to be slid (the fish here) and stick the top card stock to your base.

That's it in a nut shell really.  YouTube has some great videos!

I'll have to look into doing one...someday.

Monday, February 10, 2014

Saw Blade Art


My husband hear about saw blade art.  It comes in different forms, from painting to amazing designs cut right out of the blade.  I gave it a try but I had to cheat a bit.  I stamped an image from my rubber stamp collection and painted over it.  The stamp is from Our Daily Bread Designs and wow I surprised myself!

Tuesday, January 28, 2014

Popular Butterflies


Although this isn't a Stampin'Up! butterfly the paper is from them.  This card was very popular with a friend of mine who wanted to add a personal touch with initials at the bottom.  Those came out great.  All I did with these was stamp a bunch of butterflies in two different colors of purple and matted with the matching card stock.

The original was made for my son's teacher who loves purple.  It was a bit different with a bigger center butterfly and a matching brad but these was more practical for sale and reproducing a number of cards are once.  Brads are becoming more difficult to find these days.  Not sure why, they are a great addition to many projects.

Tuesday, January 21, 2014

Butterflies and Crosses


  I've been trying to sell my old stock of cards on eBay and have had great sales, not really making anything but it is a nice confidence boost.
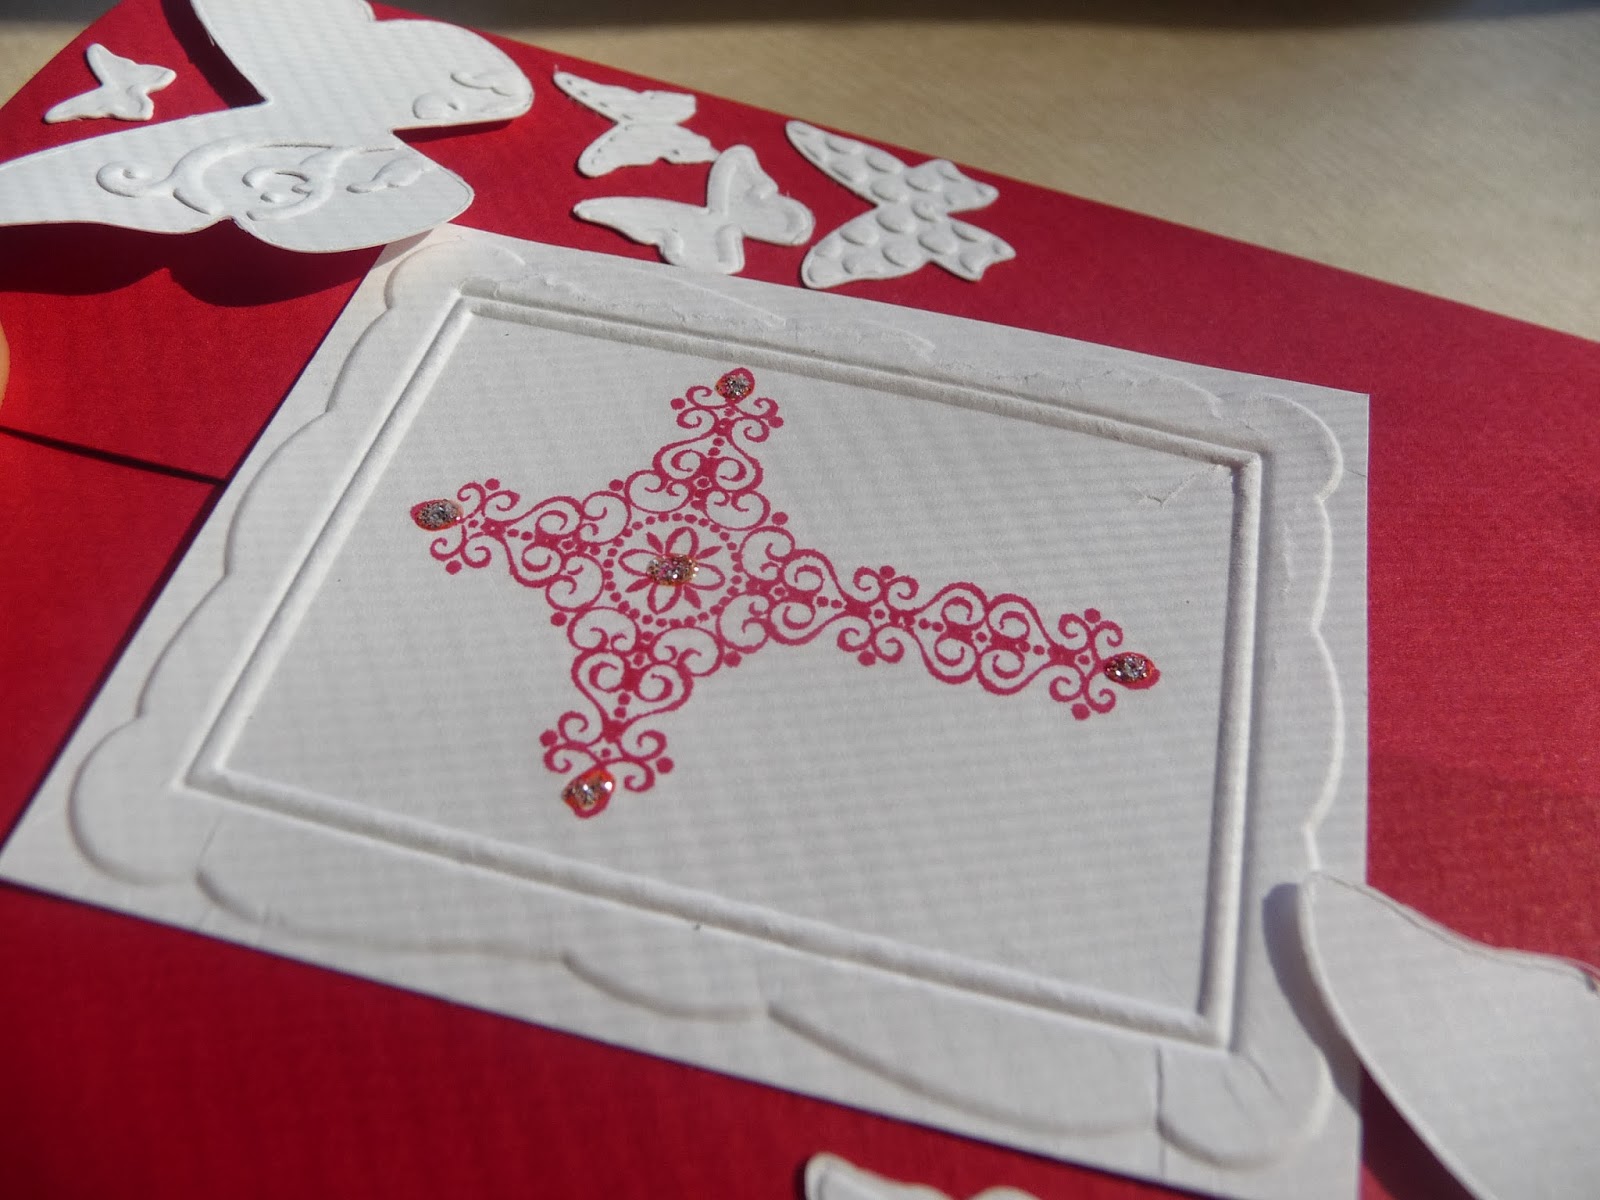
  This card I originally made for a friend to give to her sister as a well wishes card.  I've sold three of these already.  It is a gate card with the center cross over lapping the opening.  Stampin'Up Crosses of hope on Real Red and Dazzling Details not to mention the butterfly framelit dies and embossing folder for the frame.  It's a great card!
  I've also joined Pinterest.  I haven't had much time to really "pin" anything yet but I'm working on it.  I've had Etsy sales this past week! YAY and a couple of custom requests!  It's been a great month for Paper Cut Cards!  Praise the Lord for His blessings.

Monday, January 13, 2014

Custom Orders


These three cards were done as a custom request on my Etsy shop (link to the right).  I love how they came out!

I have a coupon for my Etsy shop as well for this week only!  Use coupon code: birthdayweek to receive a 20% discount on orders $10 or more.

Have a blessed week!